STEP lacquer tips from Han
Parquet craftsman Han of RIGO Verffabriek will tell you the best way to lacquer STEP. Tips from the master!
Call rigo verffabriek
+31 255 54 84 48 OR Mail


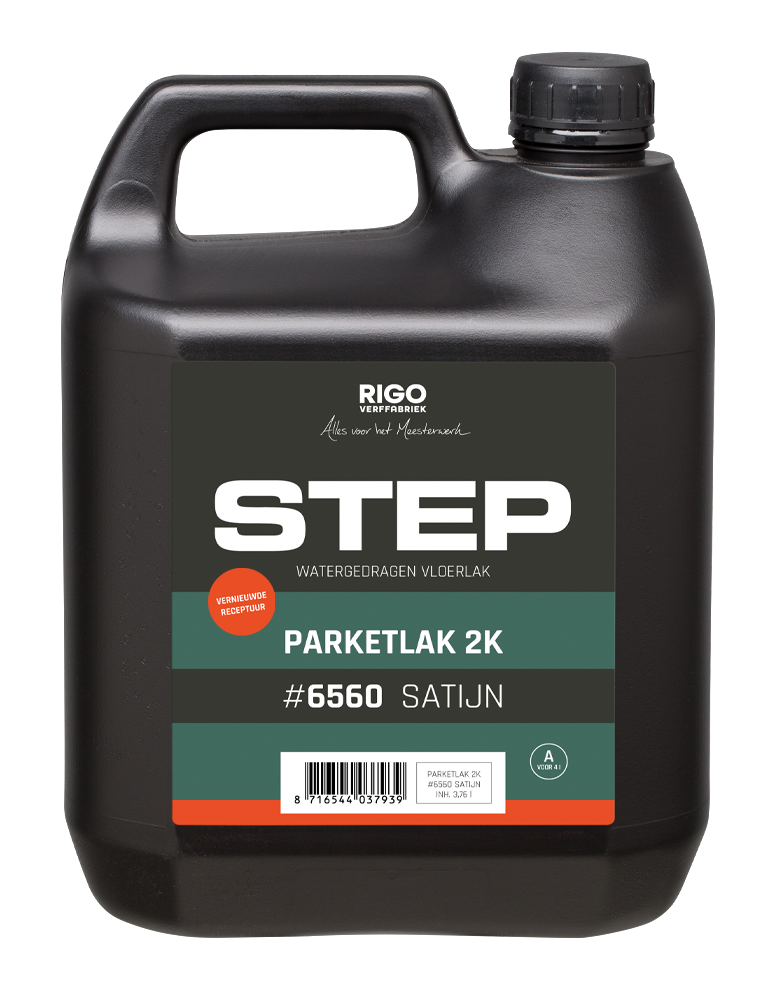
STEP Parquet Lacquer 2K is a robust, wear resistant and hassle-free parquet lacquer with an aesthetically pleasing appearance. Highly suitable for projects. While lacquering floors truly is a craft, we don't want to make it any more difficult than it has to be. That's why we developed the STEP Parquet Lacquers: extreme convenience for user and end user.

Call +31 255 54 84 48
or mail or download our brochures
| Item no. | Product | Content | EAN | Packed in |
|---|---|---|---|---|
| 5545533 | STEP Parquet Lacquer 2K Satin #6560 | 1,00 lt | 8716544040403 | bottle |
| 5545539 | STEP Parquet Lacquer 2K Satin #6560 | 4,00 lt | 8716544040434 | jerrycan |
| Item no. | Product | Content | EAN | Packed in |
|---|---|---|---|---|
| 5545333 | Parquet Lacquer 2K Gloss #6540 | 1,00 lt | 8716544037946 | bottle |
| 5545339 | Parquet Lacquer 2K Gloss #6540 | 4,00 lt | 8716544037953 | can |
| Item no. | Product | Content | EAN | Packed in |
|---|---|---|---|---|
| 5545433 | STEP Parquet Lacquer 2K Matte #6550 | 1,00 lt | 8716544040366 | bottle |
| 5545439 | STEP Parquet Lacquer 2K Matte #6550 | 4,00 lt | 8716544040373 | jerrycan |
The 1K lacquers from the STEP range offer excellent and sufficient protection for regular and intensive use. In a private home, a common recommendation is to use a 1K lacquer on the top floor and to choose a 2K finish in the living room, kitchen and hall.
The 1K lacquers are also extra easy to use. They have a shorter drying time and do not need to be mixed. This makes it possible to apply 3 coats of lacquer in one day and everything left over can be used for the next coat or the next project. And that is quickly earned!
Choose a 2K finish for commercial or project applications and in places where high moisture load and high wear load will coincide. Typical examples are behind the bar or the busy entrance of a hotel. For furniture and interior work, a 2K finish is chosen in places where optimum hand fat resistance is desired. For example, kitchen fronts and stair railings.
As a general guideline, we recommend not to apply a 1K finish on top of a 2K coat. If you do choose to do this, then at least sand well with P120 before the 1K coat.
When lacquering over an unknown existing coat of lacquer, a 2K lacquer will generally provide a better adhesion. Consider using STEP Renovation Lacquer 2K #6250.
Yes, it is possible. Consider for example the SKYLT Recoatable Oil. If you do not want an invisible, ultra-matt finish, you can apply STEP Parquet Lacquer 2K #6550 Matte, #6560 Satin or #6540 Gloss as the final coat of lacquer. Follow the system composition in the Technical Data Sheet.
When using the new 72-hour hardener, the A and B components only start to react with each other once the water has evaporated from the lacquer. That is why sealed mixed lacquer remains usable for so long and the containers do not bulge.
Yes, the product dries but is less resistant than the 2K.
The big advantage is that you have much less waste and loss, because you don't have to throw away any of the mixed product and you can use the mixed product for 72 hours. You can also reuse the rollers, brushes, trays and plastic containers. Our advice is to cover and/or close used products.
Yes, that is correct. To be exact, half. No more of the new 72-hour hardener is needed to start the reaction and cross-linking, and to allow it to take place completely.
It is our standard advice to only use a hardener in combination with the product stated on the label. It can happen that an “old” A is accenditally mixed with a “new” B or vice versa. That is not the intention, but fortunately, it does not lead to a different result. The lacquer can be processed normally and will also dry normally. However, you can no longer benefit from the 72-hour pot life. This only applies to the combination “new” A with “new” B. Do not use any lacquer residue from any other combination after a pot life of 3 hours, do no seal airtight and dispose of as chemical waste.
Yes, this is possible, and very easy to do on a small kitchen scale with a tare function. Use the mixing ratio as indicated in the Technical Data Sheet. Make sure to shake the entire packaging of the A-component well before taking a part out.
Two tips for resealing the hardener: Squeeze as much air as possible from the pouch and wipe the spout clean. This will extent the shelf life and ensure that you can still unscrew the cap the next time. But please note: the hardener has a limited shelf life after opening.
No, you can simply polish 3 to 4 hours after applying the lacquer.
Wait to asses until the lacquer has completely dried, because a drying lacquer gives a restless image in which the lacquer pattern is visible. That is normal. However, if you see colour differences that coincide with the lacquer pattern from directly above after complete drying – i.e. standing and right in front of your feet – then these are “seams” or “burn-ins”. Lacquer conditions, lacquer plan and the combination of wood type and lacquer may have played a role in this.
In some cases, it is possible to reduce the seams with light intermediate sanding, or by applying a subsequent layer of lacquer. You can estimate in advance whether this will work by pouring a puddle of water over the colour difference. Look directly from above, do not let the water soak in. If the colour difference does not diminish, the surface will have to be sanded completely or partially.
Take measures to prevent recurrence. Optimise the conditions where possible and adjust the lacquer plan. Consider a different varnish or lacquer, such as oil or recoatable colour oil. Lacquering a large space can quickly become work for two or more people. As far as the lacquer plan is concerned, we advise applying the first coat of lacquer on bare wood in long, narrow strips completely lengthwise and rolling this strip, without end breaks, in one go. If this is not possible given the layout of the space or the surface, consider dividing the surface into section by taping. The first coat can then be applied in sections, one after the other – separated by drying time. Lacquer the first section up to the tape (but not over it). Remove the tape immediately after applying the wet lacquer. Lacquer the other section immediately after drying. Make an overlop of a few centimetres on the previously applied just dried section. This “wet” over “dry” connection in the first coat will not be visible in the final results.
Do not work ahead on the edges. It is better to first set up the track, then apply the edges at the ends.
Wait to assess until the top coat of lacquer has completely dried. Assess the irregularities both from a distance of several meters from a low viewing angle and directly above, right in front of your feet. Are the irregularities visible from a low viewing angle, but not directly from above? Then it concerns differences in gloss level and/or layer thickness, These can be solved by sanding the floor in between and lacquering it again. Avoid repetition by paying extra attention to applying the lacquer evenly and rolling overlaps thoroughly wet-on-wet. The best way to distribute evenly is to apply the lacquer in blocks. Apply an equal amount of lacquer per block and distribute it crosswise within that block. Then roll wet-on-wet. Do this without pressure on the roller with the longest possible lacquer stick. Make sure that you do not push any visible difference in layer thickness in front of the roller when rolling it again. If necessary, roll out too much lacquer over a larger area first.
Are the irregularities visible from above as a colour difference and has a subsequent layer of lacquer not removed them? Then it is unfortunately necessary to sand the surface completely or partially bare again and to rebuild the lacquer system. Then proceed as described in the above question about 'applying'.
Covering a freshly lacquered floor always involves risks, although these are less when using a breathable quality. Our advice is to first carefully consider whether the work sequence can be adjusted, so that covering can be omitted. If there is really no other option, we advise the professional to first deliver the floor and only then have it covered. Never use tape to secure the covering material to the fresh lacquer coat.
Back to overview
Parquet craftsman Han of RIGO Verffabriek will tell you the best way to lacquer STEP. Tips from the master!

